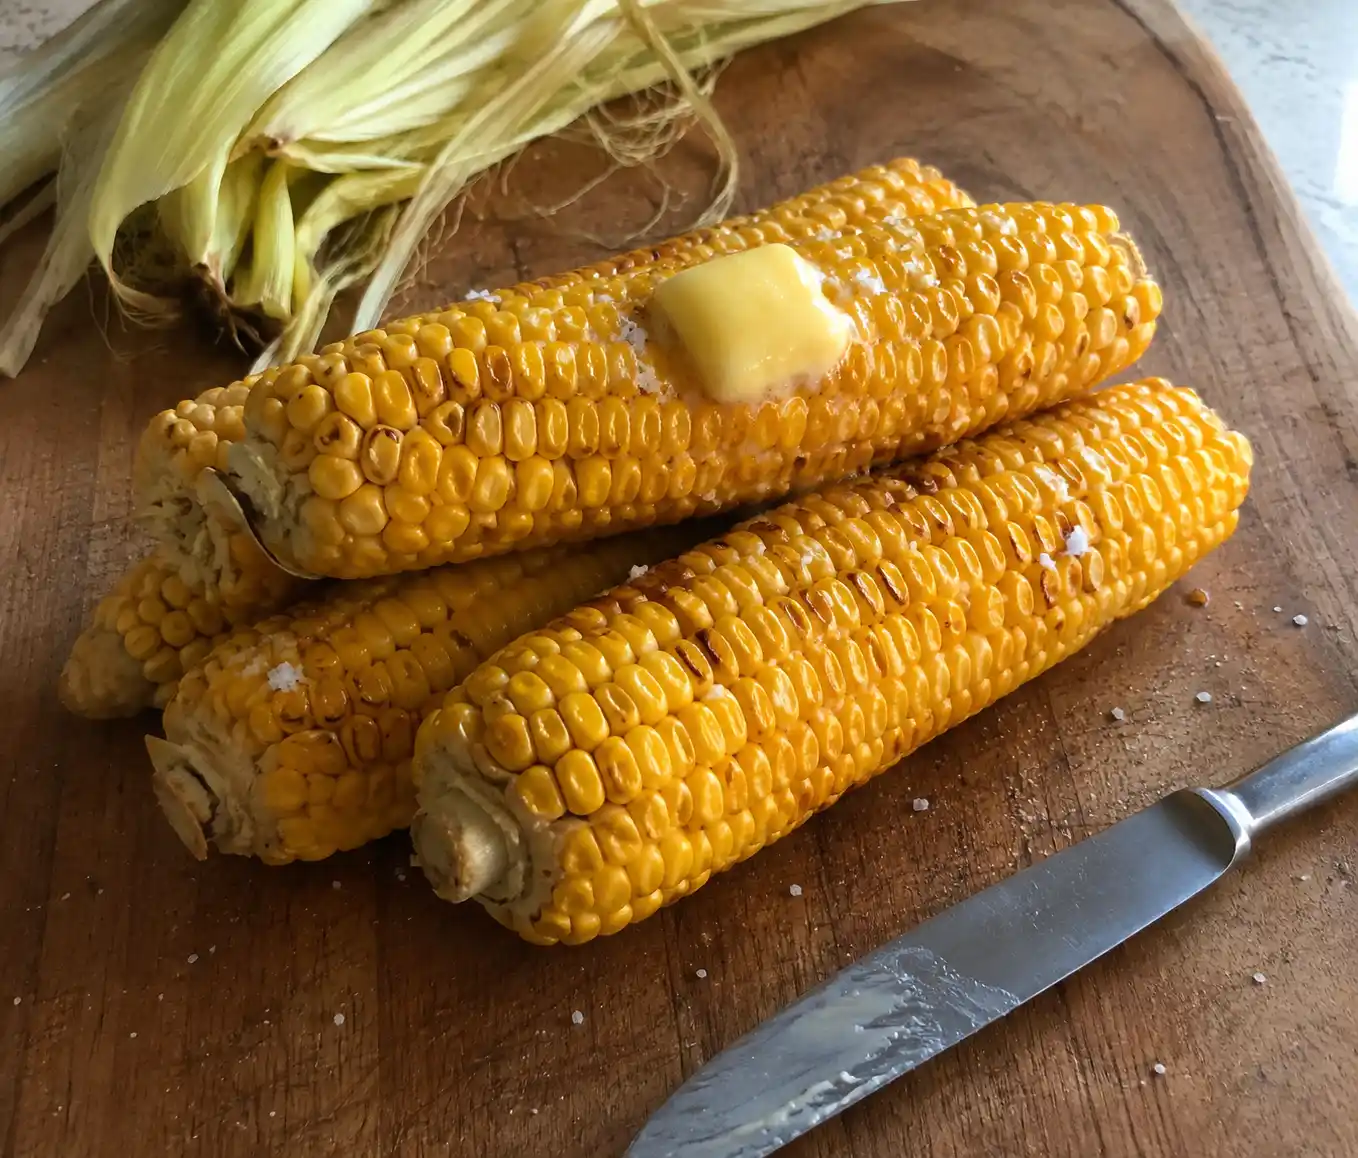
There are some kitchen tricks that feel almost too good to be true, and cooking corn on the cob in the microwave is exactly that kind of trick. No pot of boiling water, no shucking beforehand, and no standing over the stove waiting. Just a few ears of corn, a microwave, and a few short minutes, and you end up with sweet, juicy, perfectly cooked corn that practically slides right out of its husk.
This microwave corn on the cob method has become a go to for busy weeknights and small batch cooking, especially when you only need one or two ears instead of a whole pot full. Once you try it, boiling a big pot of water just for a couple of cobs might start to feel like an unnecessary extra step.
Why This Method Works So Well
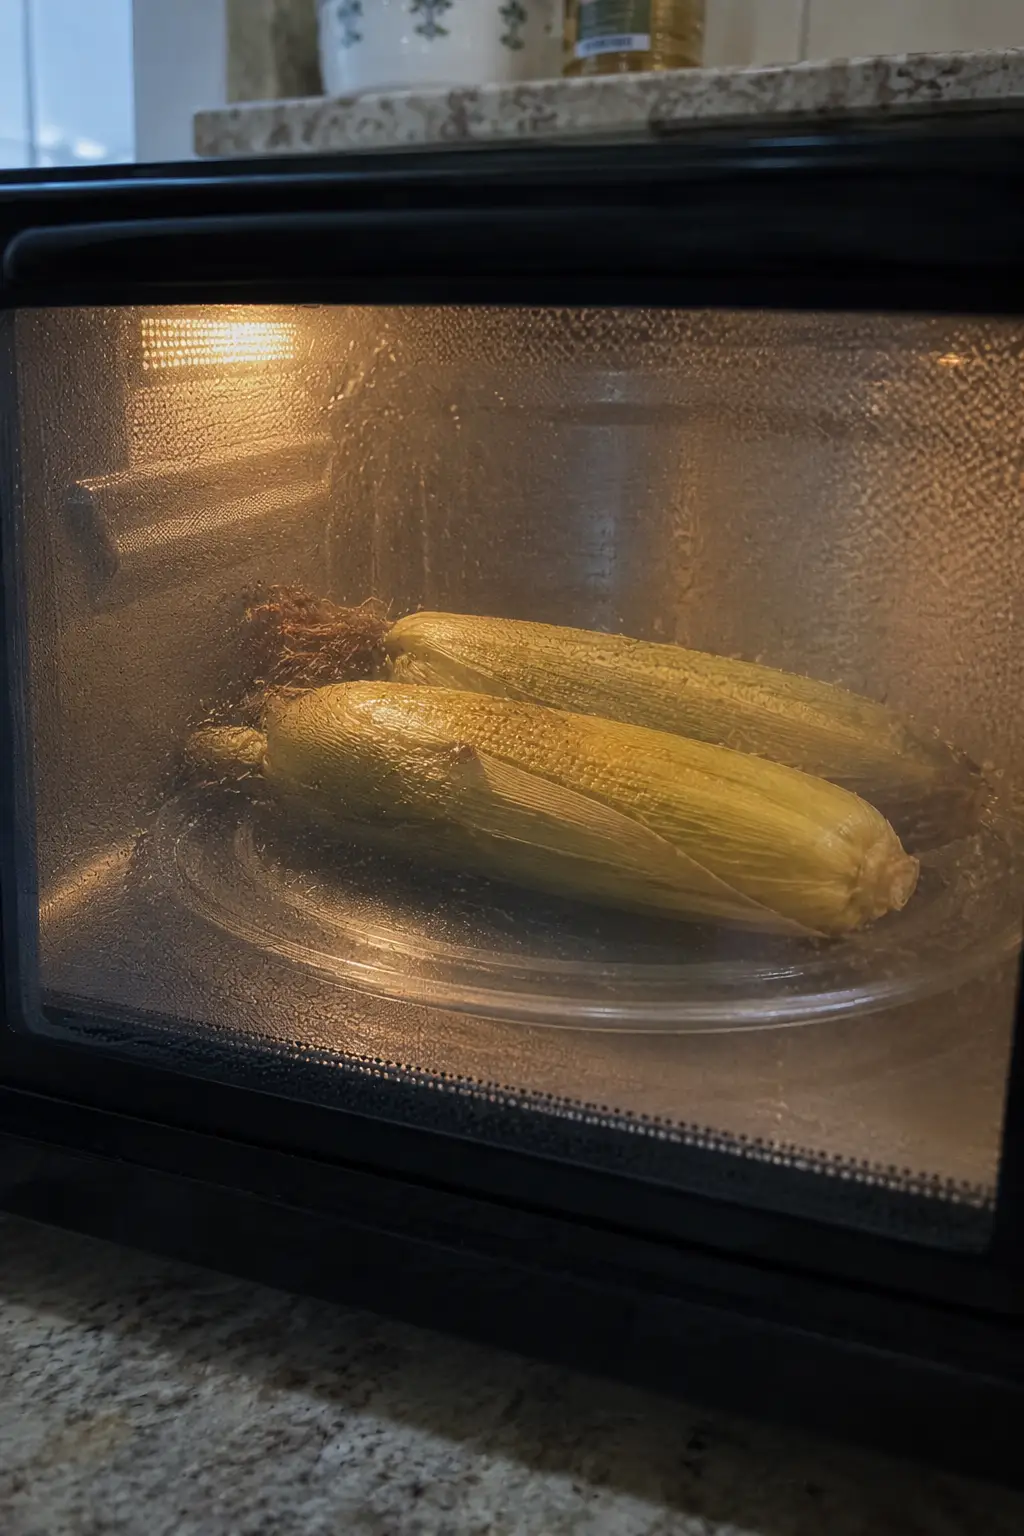
Cooking corn in the husk inside the microwave might sound unusual if you have never tried it, but there is real logic behind it. The husk acts as a natural steaming pouch, trapping moisture and heat around the kernels as they cook. This means the corn essentially steams itself from the inside out, resulting in kernels that are plump, juicy, and never dried out.
Beyond the flavor and texture benefits, the convenience is hard to beat. There is no need to fill and boil a large pot of water, which is especially helpful in the middle of summer when the last thing you want is to heat up your kitchen even more. It is also wonderfully practical when you only need a small amount of corn, since boiling a full pot just for one or two ears often feels wasteful.
Also Read: Zucchini Fritters Recipe: Crispy, Easy, and Kid Friendly
Also Read: The Best Zucchini Bread Recipe: Moist, Easy, and No Squeezing
Also Read: Cucumber Tomato Salad: Fresh, Easy, and Ready in 10 Minutes
What You Will Need
This method keeps things refreshingly simple, using just a couple of basic ingredients.
For the Corn
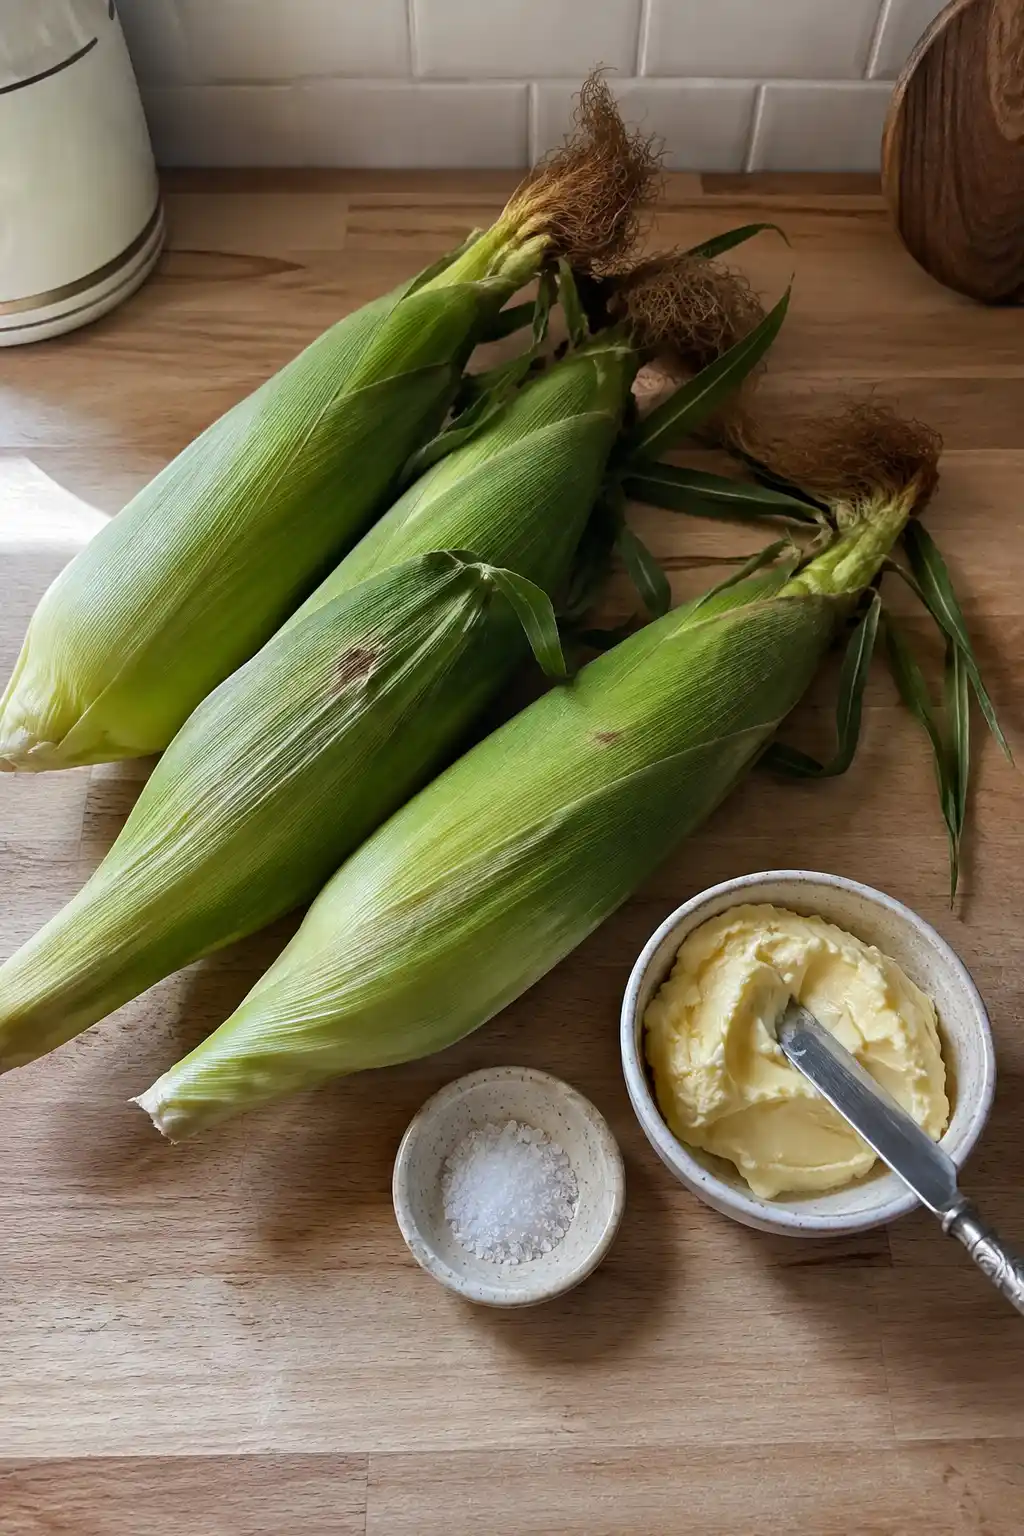
You will need fresh ears of corn on the cob, left in their husks. Look for corn with bright green husks and brown, slightly sticky silk peeking out from the top, which are good signs of freshness. Once you get your corn home, store it in the husk in the refrigerator to help keep the kernels moist and plump until you are ready to cook.
For Serving
A little butter and salt are all you really need to finish off this corn once it comes out of the microwave, though feel free to get creative with your favorite toppings.
How to Microwave Corn on the Cob Step by Step
This entire process takes just a few minutes from start to finish, and once you get the hang of it, you will not need to think twice about the steps.
Step One Microwave the Corn
Place the corn in the microwave with the husks still on, arranging the ears in a single layer if you are cooking more than one. Microwave on high according to how many ears you are cooking. For one ear, three minutes is usually enough. Two ears typically take four to five minutes, three ears take six to seven minutes, and four ears take about seven to nine minutes. If you are cooking three or four ears at once, rearranging them halfway through can help everything cook more evenly, especially if your microwave tends to have hot spots.
Step Two Let It Rest
Carefully remove the corn from the microwave using a pair of kitchen tongs, since both the husk and the steam trapped inside will be very hot. Let the corn rest on the counter for one to two minutes before handling it further.
Step Three Cut Off the End
Once the corn has cooled slightly, transfer it to a cutting board. Using a sharp knife, cut about one inch off the stem end, making sure to cut through the bottom row of kernels. This step is what allows the cob to slide free from the husk in the next step.
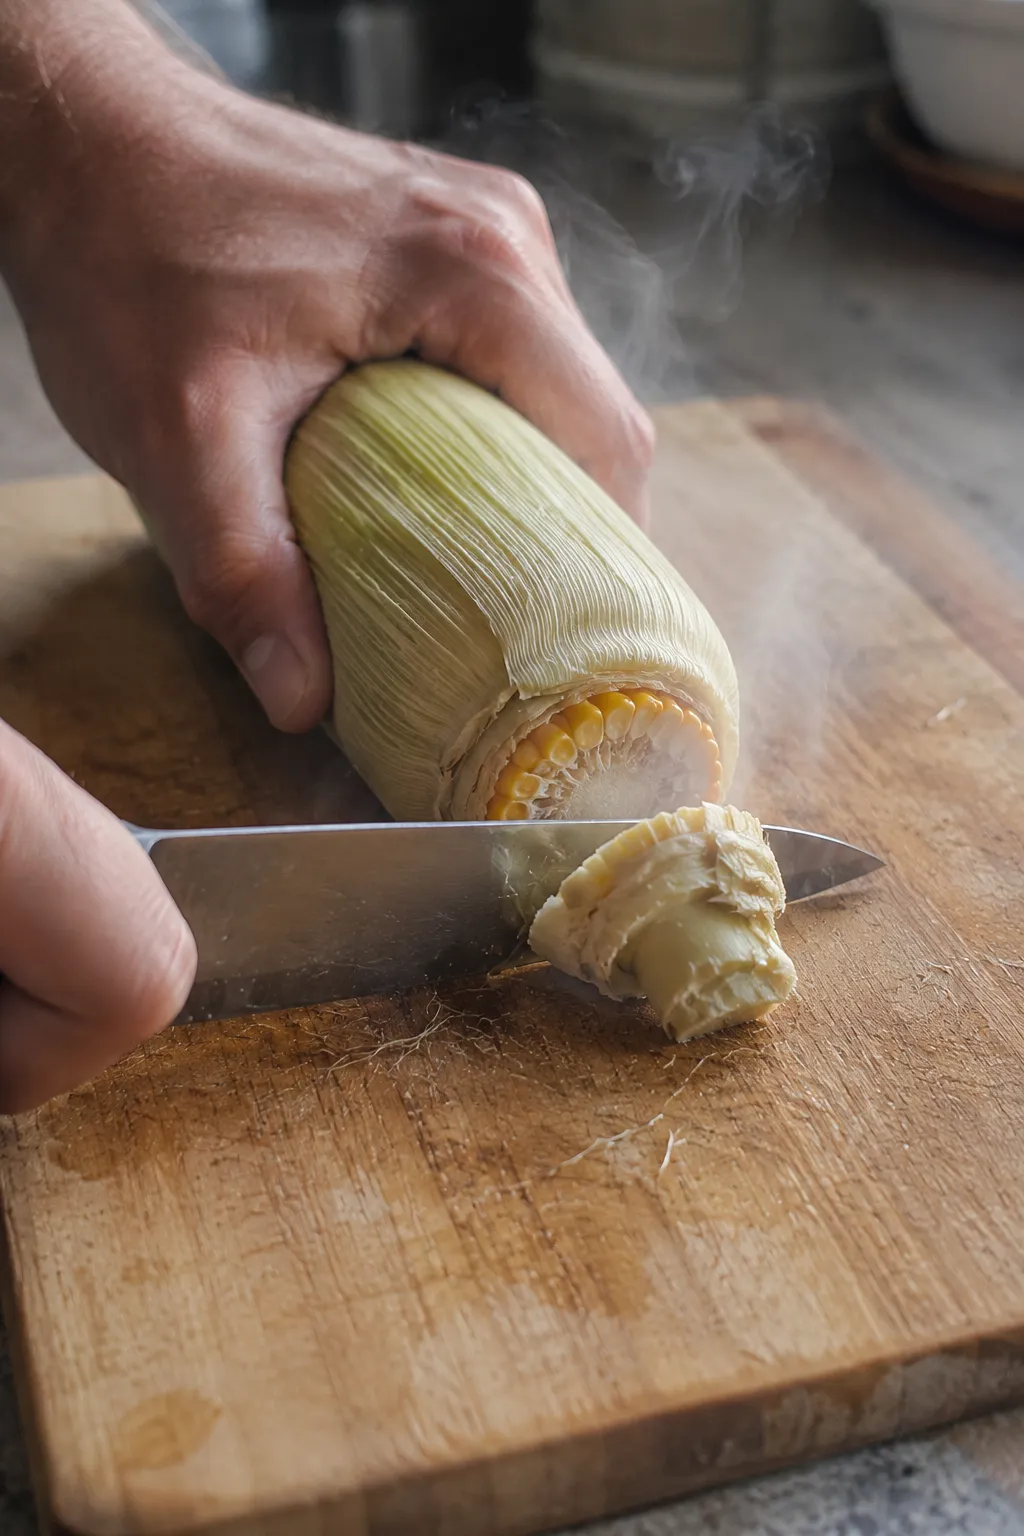
Step Four Push Out the Corn
Hold the silk end of the corn with a clean kitchen towel, since it will still be hot, and gently squeeze downward toward the cut end. The cob should slide right out, leaving most of the husk and silk behind. If it does not come out easily on the first try, simply cut a little more off the stem end, making sure to cut through that bottom row of kernels again, and try once more.
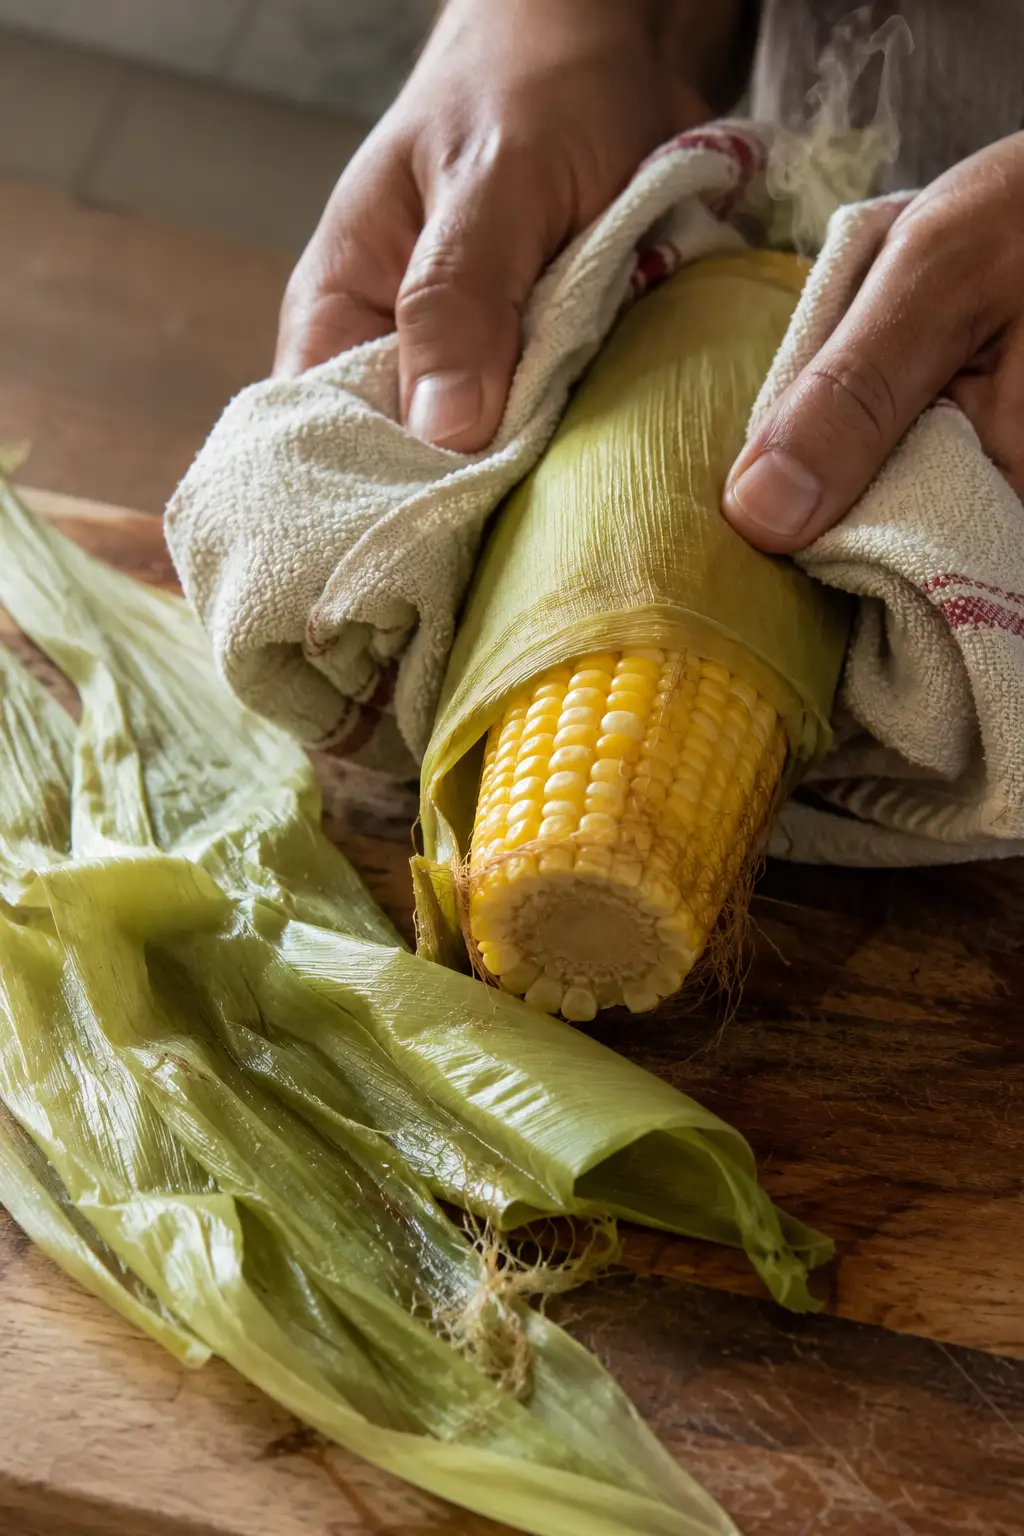
Step Five Serve Warm
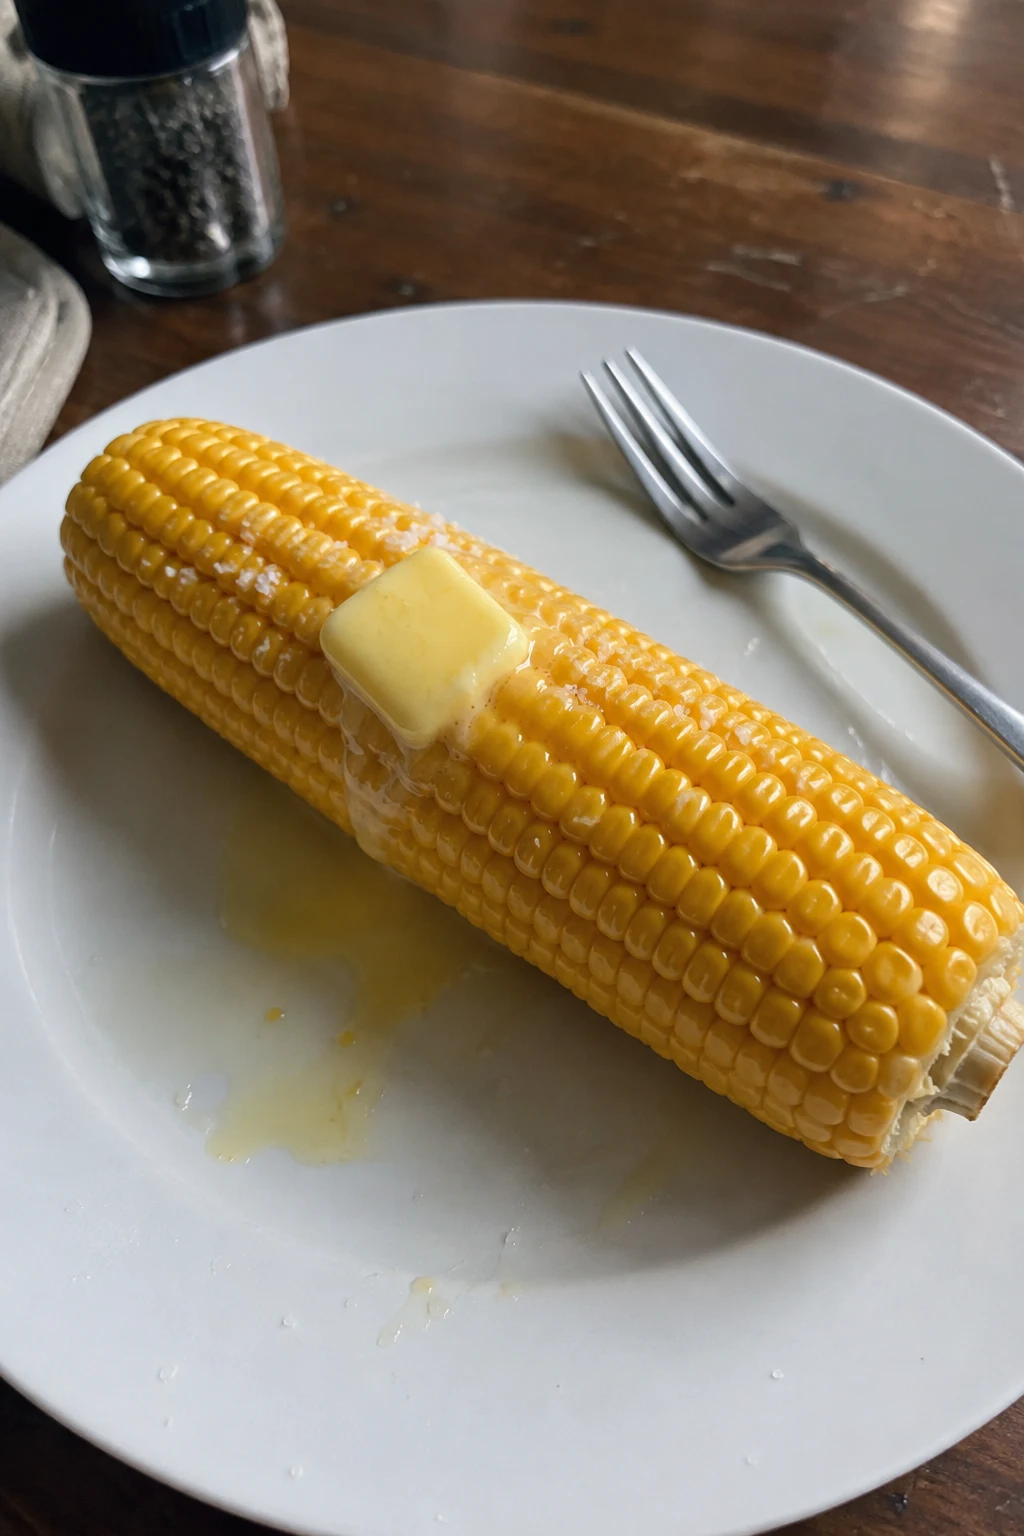
Serve your corn warm with a pat of butter and a sprinkle of salt, or dress it up with any of your favorite toppings.
Can You Microwave Corn Without the Husk
Yes, this method still works even if your corn has already been shucked. Simply wrap each ear in a damp paper towel before microwaving, which helps mimic the moisture trapping effect that the husk normally provides. If your corn still has fresh, green husks, there is no need for a paper towel at all, since the husk alone traps enough steam and moisture around the kernels.
Tips for Perfectly Cooked Microwave Corn
A few small details can help you get consistently great results every time you use this method. Keep in mind that cooking times can vary depending on both the size of your corn and the wattage of your particular microwave, so treat the times listed here as a helpful starting point rather than an exact rule. Smaller ears will cook faster, while larger ones may need an extra thirty seconds or so.
You will know the corn is done when the kernels look plump, feel steaming hot, and have that classic crisp tender bite. If a cob still feels slightly firm or undercooked after resting, simply return it to the microwave in short thirty second bursts until it reaches the texture you are looking for.
If your corn arrived with a very dry or damaged husk, wrapping it in a damp paper towel before microwaving, even with the husk still on, can help ensure it cooks up nice and juicy rather than drying out.
What to Serve with Microwave Corn on the Cob
This quick side dish pairs beautifully with all kinds of summer favorites. Grilled proteins like a smash burger or grilled steak kabobs make a natural match, since the sweetness of the corn balances out the rich, smoky flavor of the grill. Honey glazed salmon is another wonderful pairing, bringing a touch of sweetness that complements the corn nicely.
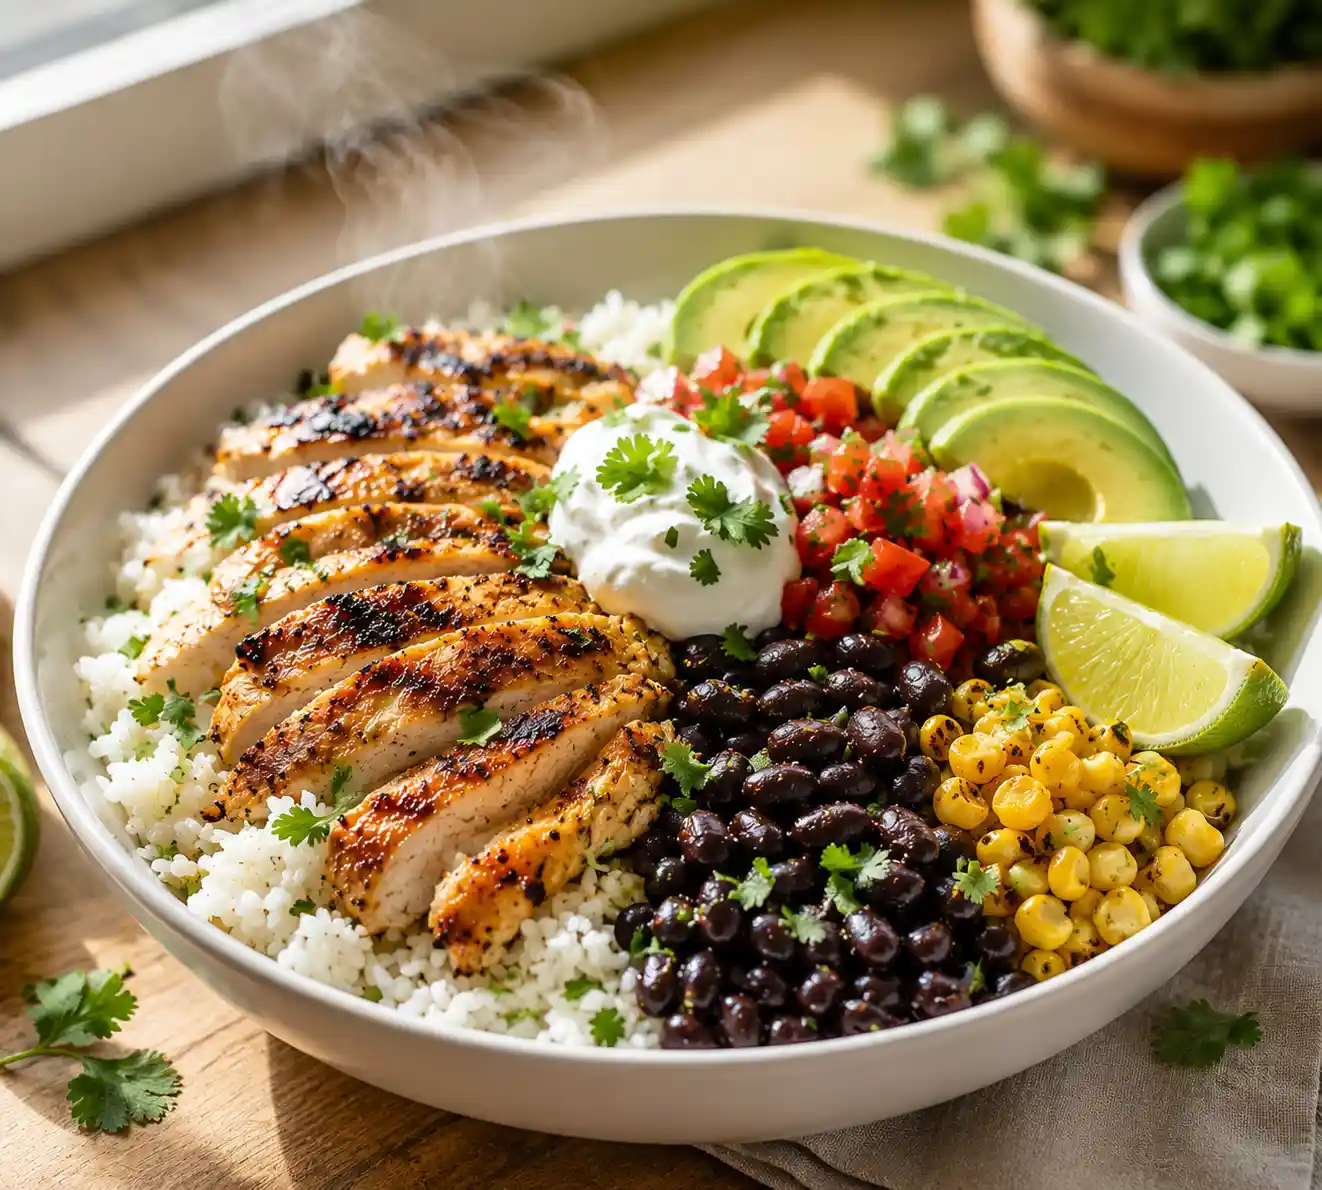
For heartier meals, this corn works beautifully alongside slow cooked ribs or a plate of cilantro lime chicken, rounding out a well balanced summer dinner in just a few extra minutes of effort.
Microwave Corn on the Cob
Ingredients
Equipment
Method
- Microwave the Corn – Place the corn in the microwave with the husks still on, arranging the ears in a single layer if possible. Microwave on high until the corn is hot and tender. For 1 ear, microwave 3 minutes. For 2 ears, microwave 4 to 5 minutes. For 3 ears, microwave 6 to 7 minutes. For 4 ears, microwave 8 to 9 minutes. For 3 to 4 ears, rearrange the corn halfway through if your microwave cooks unevenly. Use the lower end of the time range for smaller ears and the higher end for larger ears.
- Let It Rest – Carefully remove the corn from the microwave using kitchen tongs. Let it rest for 1 to 2 minutes, since the husks and steam will be very hot.
- Cut Off the End – Transfer the corn to a cutting board. Using a sharp knife, cut off the stem end, cutting through the bottom row of kernels, about 1 inch from the base.
- Push Out the Corn – Hold the silk end with a clean kitchen towel and gently squeeze downward toward the cut end. The cob should slide out, leaving most of the husk and silk behind. Be careful of hot steam. If the corn does not slide out easily, cut a little more off the stem end, making sure to cut through the bottom row of kernels, then try again.
- Serve – Serve warm with butter and salt.
Notes
Storage and Reheating Tips
Microwave corn on the cob truly tastes best served immediately while it is still warm and juicy. That said, leftovers can be refrigerated in an airtight container for up to four days if needed. To reheat, wrap each cob in a damp paper towel and microwave in short twenty second intervals until warmed through, checking often so it does not overcook.
If you want to save corn for longer storage, it is best to cut the kernels off the cob first and freeze them in an airtight container, where they will keep well for up to three months.
Frequently Asked Questions
Why does the husk not need to be removed before cooking
The husk works as a natural steaming pouch in the microwave, trapping heat and moisture around the kernels as they cook. This keeps the corn from drying out and actually makes cleanup easier, since most of the silk stays attached to the husk when you pull the cob free afterward.
What if my microwave does not cook evenly
Some microwaves have hot spots that can cause uneven cooking, especially with multiple ears. If you are cooking three or four ears at once, pause halfway through the cooking time and rearrange the corn to help everything cook more evenly.
Can I season the corn before microwaving
Since the corn cooks inside its husk, it is easiest to season it after cooking rather than before. Once the husk is removed, feel free to add butter, salt, chili powder, or any other favorite seasoning right away while the corn is still warm.
How do I know if my corn is fresh
Look for bright green husks that feel slightly damp, along with brown, sticky silk at the top. Avoid corn with dry, yellowing husks or silk that looks dark and brittle, since these are signs the corn is past its prime.
Final Thoughts
This microwave corn on the cob method proves that some of the best kitchen shortcuts are also the simplest ones. With no need to shuck the corn ahead of time or boil a large pot of water, this is hands down one of the fastest ways to get sweet, juicy corn on your table, especially when you only need a couple of ears. Keep this trick in your back pocket all summer long, since once you try it, you may never go back to boiling corn again.